A studio guide · Delft, about 1665

Vermeer's Girl, layer by layer

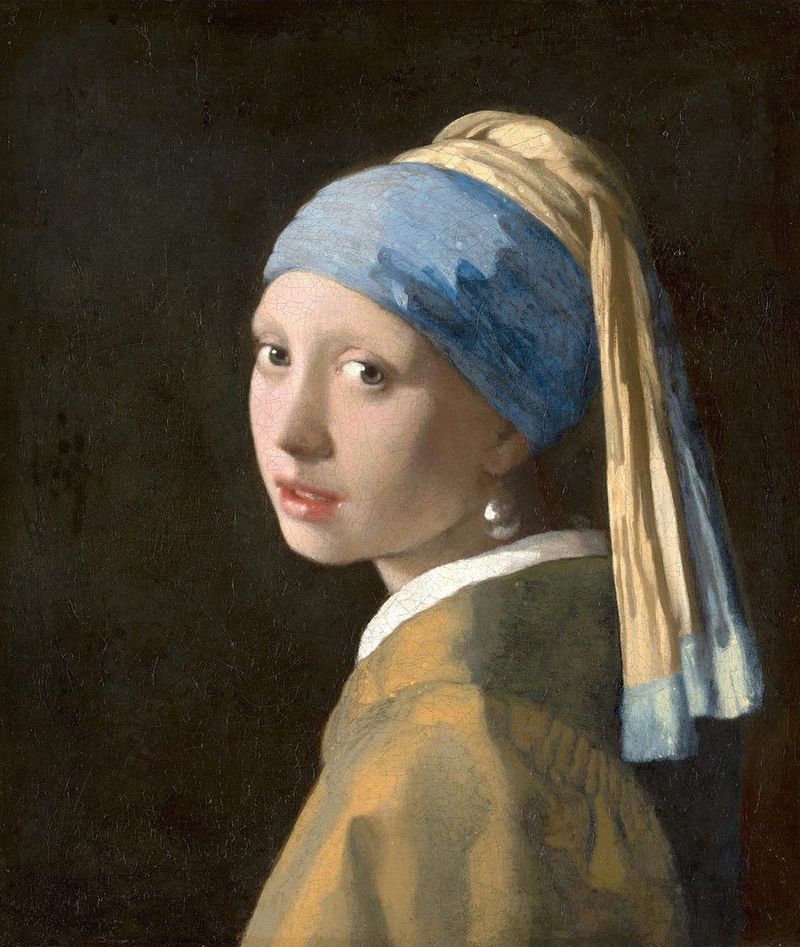
Imagine you are Johannes Vermeer, about to paint a girl in a blue and yellow turban. This guide follows what your process would have been, from your training and first decisions to the last stroke on the pearl.

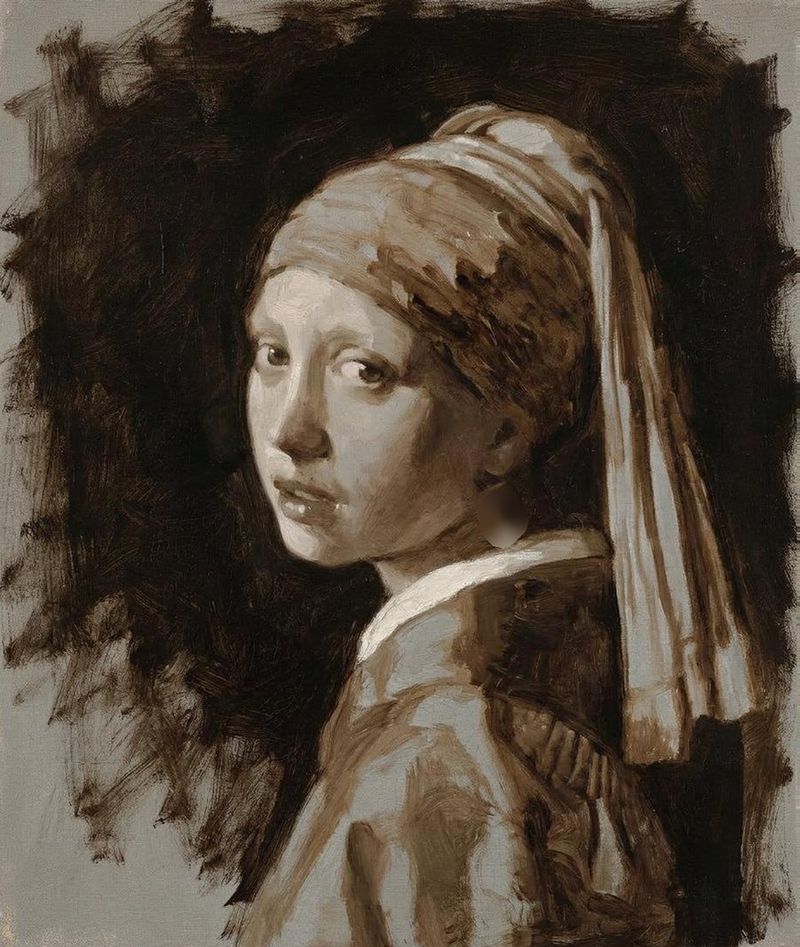
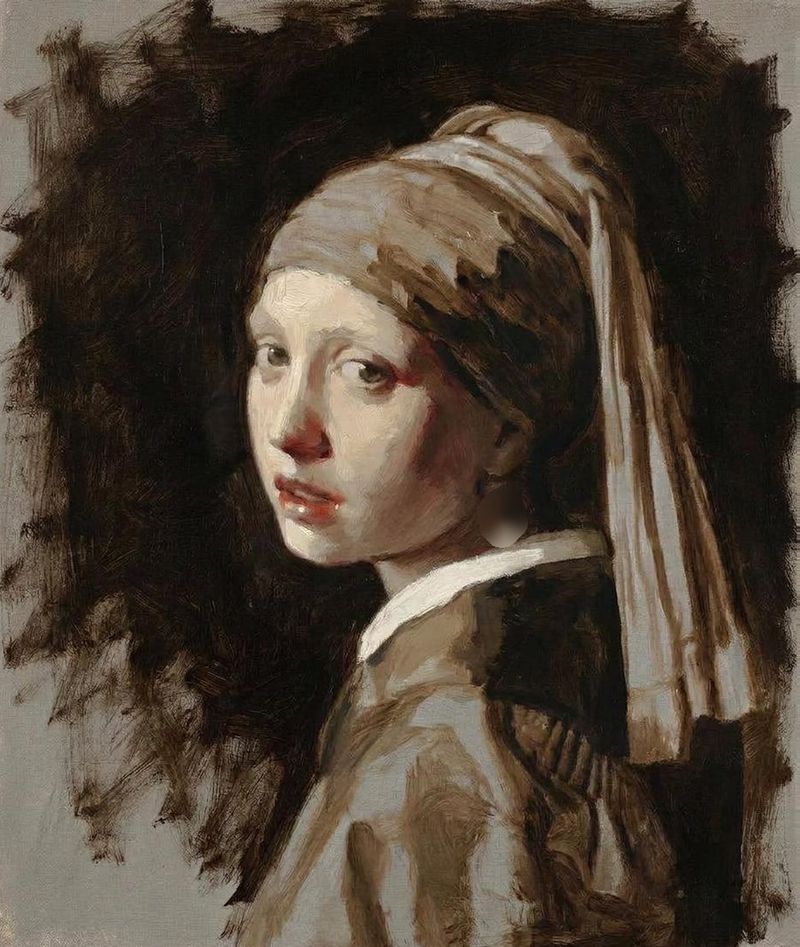
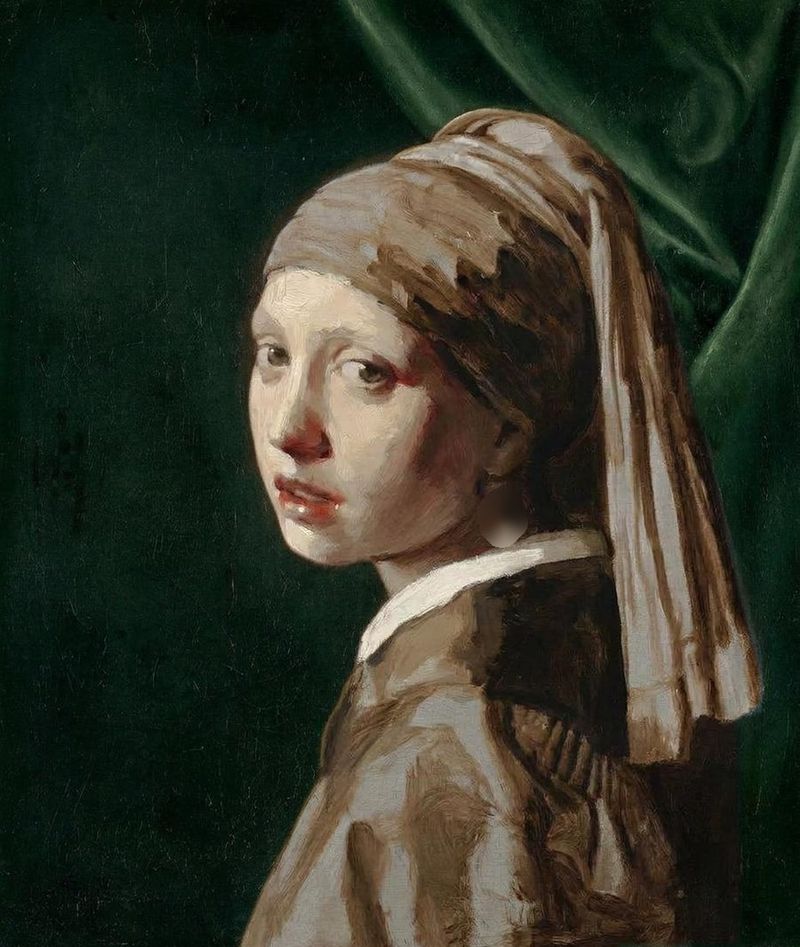
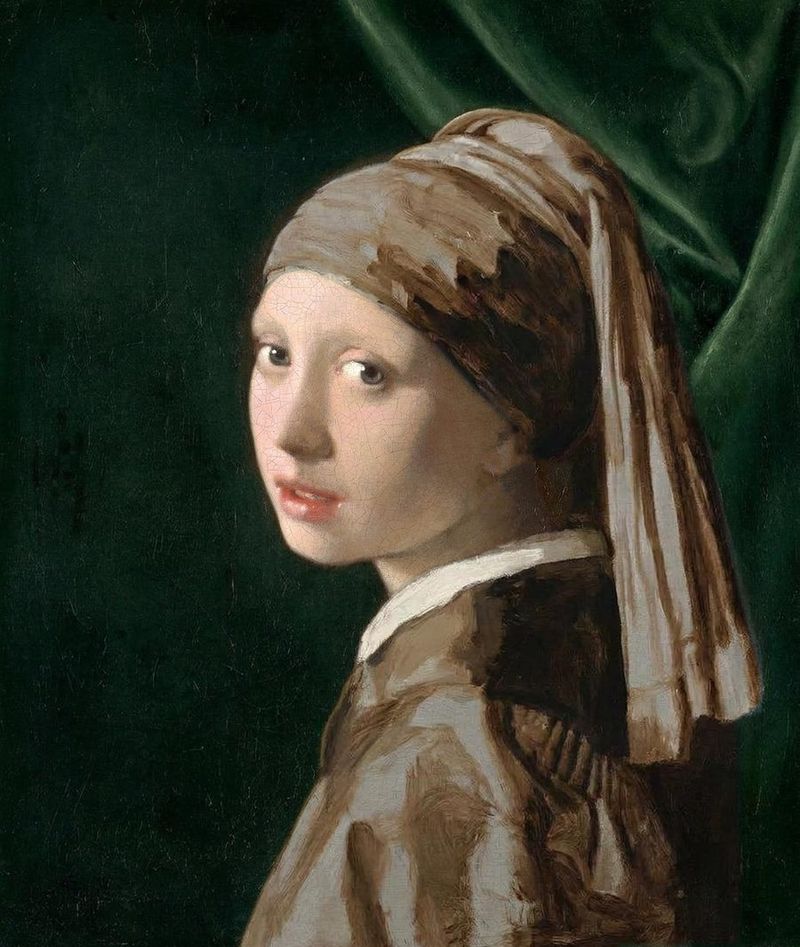
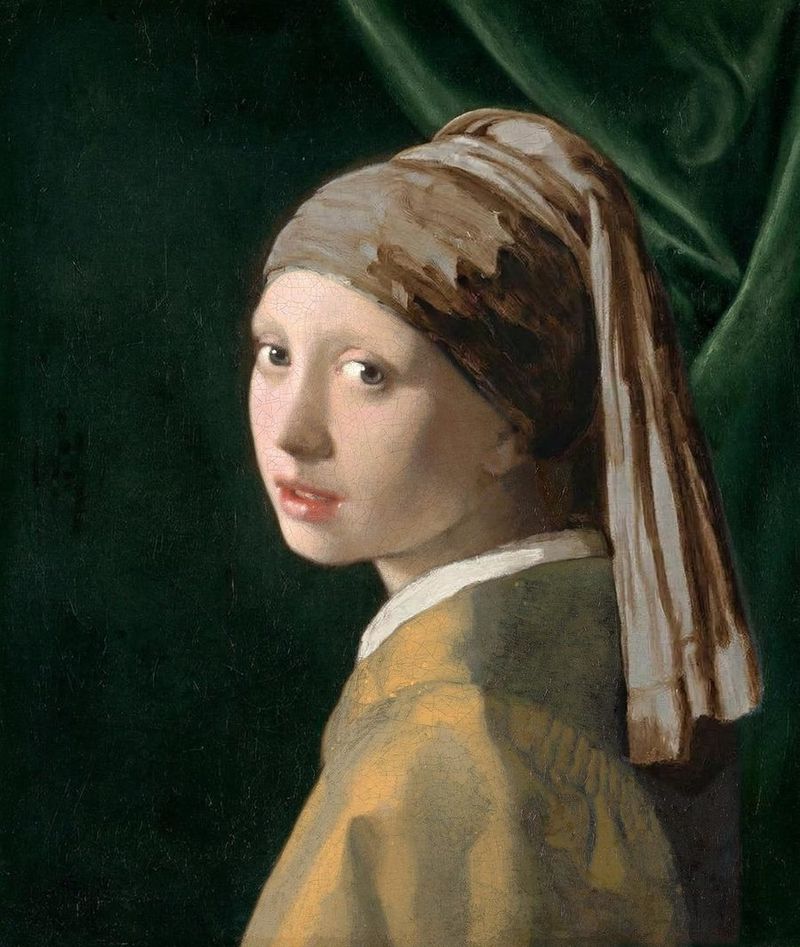
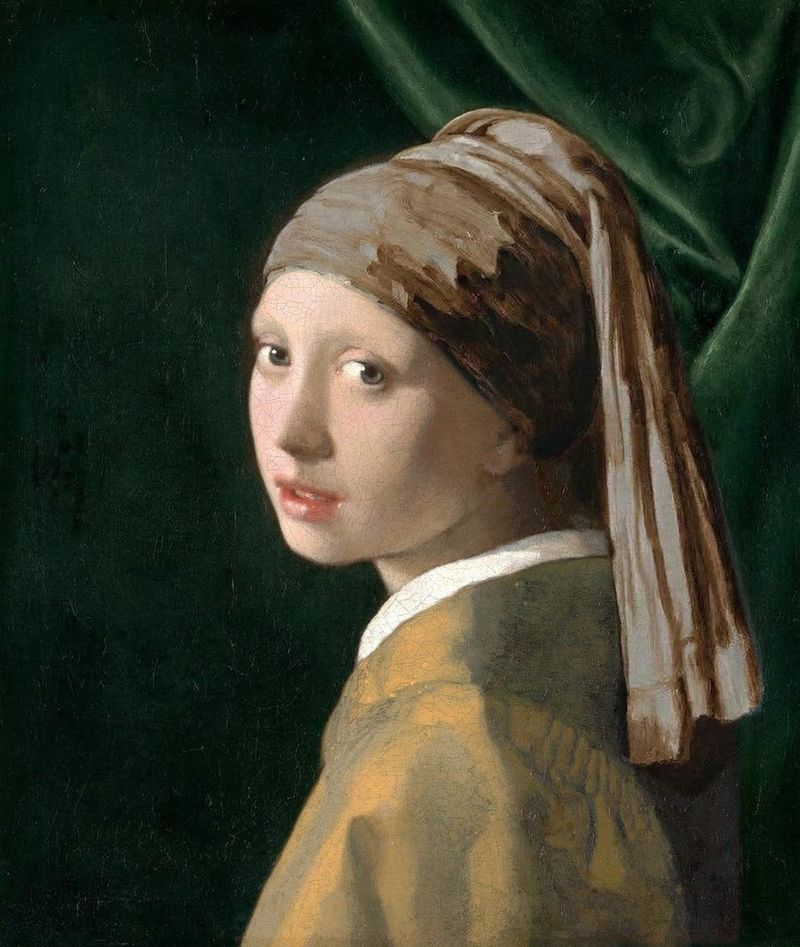
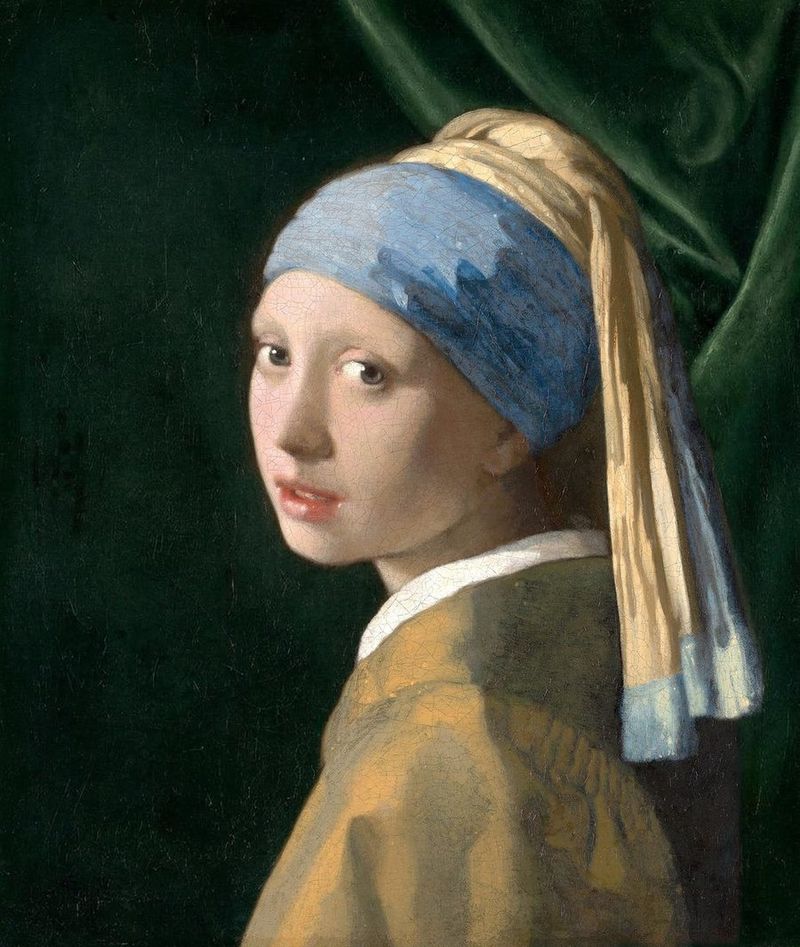
The materials and the order of work come from technical studies of this exact painting, above all the Mauritshuis's 2018 examination, Girl in the Spotlight. Where that evidence runs out, the guide relies on Delft records and ordinary 1660s practice. Each chapter opens with a note on what its evidence is. The slider under the painting steps through eleven stages, from bare canvas to today; all but the last are AI reconstructions.
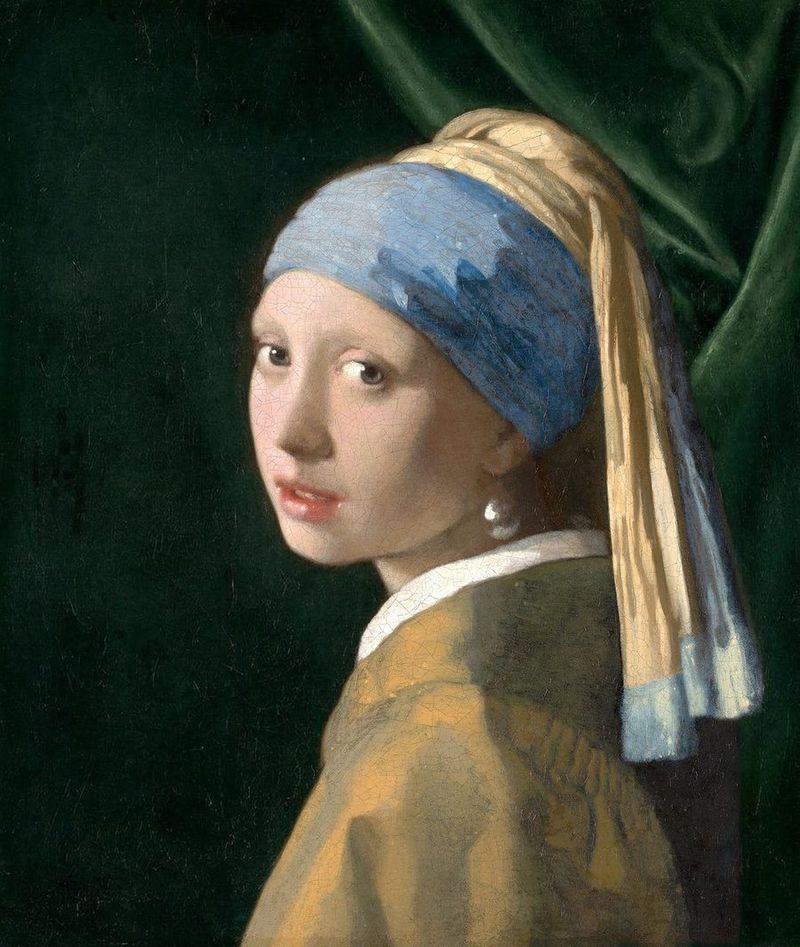
Today

Stage 11 of 11

The painting now. The weld and indigo have faded, so the green curtain reads as near-black.

Johannes Vermeer, Girl with a Pearl Earring, about 1665. Oil on canvas, 44.5 × 39 cm. Mauritshuis, The Hague. AI-generated Stages 1 to 10 are reconstructions made with Prodia from this painting.

Your training

EvidenceGuild register and church records. Your teacher is unknown.
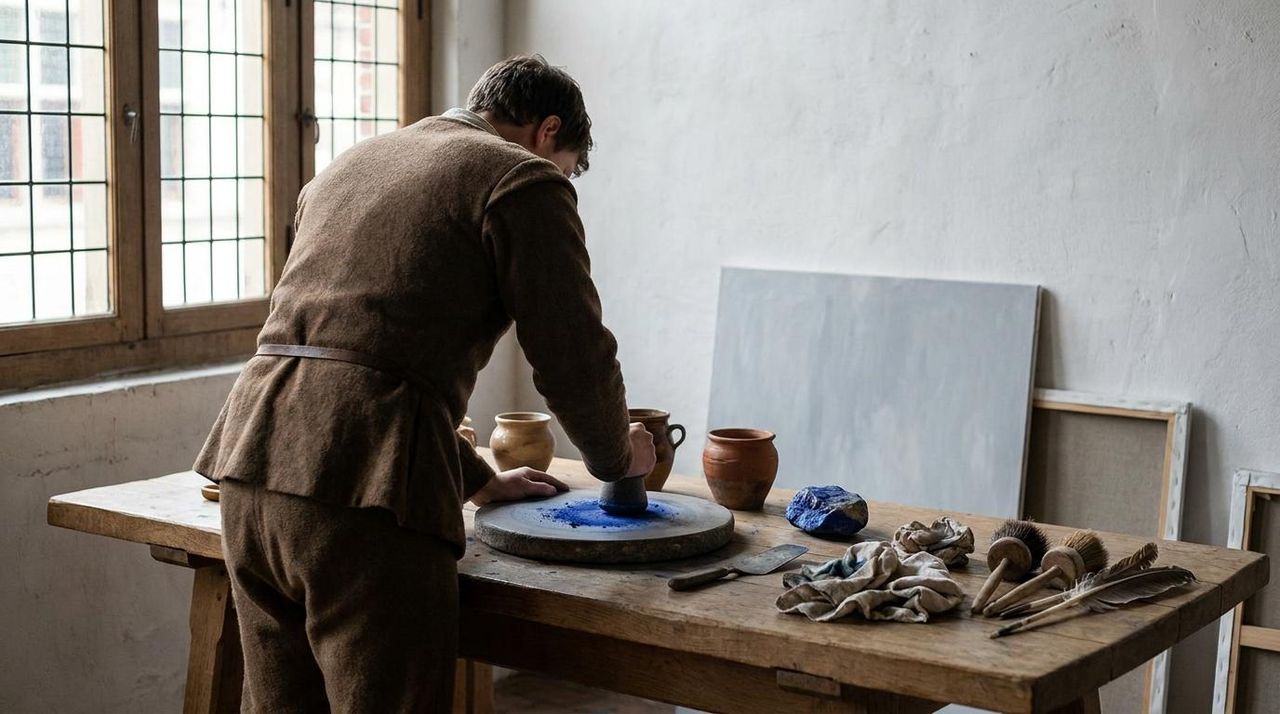
AI-generated reconstruction: An apprentice, seen from behind, grinds blue pigment with a stone muller at an oak table in a workshop lit by leaded windows.
AI-generatedAn apprentice grinds ultramarine on a stone slab. Years of your training looked like this.

You are Johannes Vermeer, born in Delft in 1632. Your father ran an inn and also dealt in paintings. Nobody knows who taught you. Leonaert Bramer, a family friend, is the usual guess, and Carel Fabritius is another. You may even have trained in Utrecht or Amsterdam.

Whoever it was, you spent four to six years as an apprentice. Most of that was grunt work: grinding pigments, priming canvases and copying your master's pictures while you learned to paint in oil, one layer at a time.

Membership in the Guild of Saint Luke is what lets you sign and sell your own work. You were admitted as a master at 21, though you couldn't pay the six-guilder fee in full. By the mid-1660s you have absorbed the polished finish of the Leiden “fine painters” and the strong light of the Utrecht followers of Caravaggio. Your mother-in-law owns Dirck van Baburen's The Procuress, which hangs on the wall in two of your paintings.

Decide what you're making

EvidenceThe painting itself, your 1676 estate inventory and a 1696 auction listing. The model is unknown.
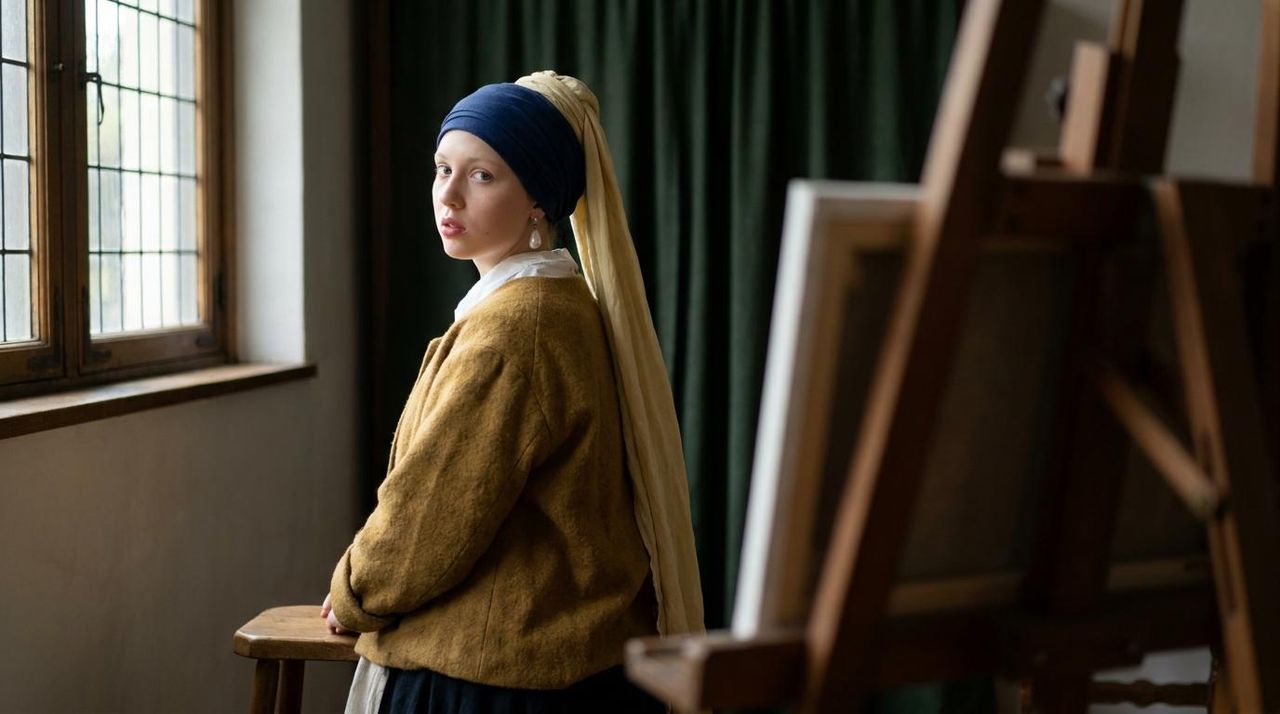
AI-generated reconstruction: A young woman in a blue and yellow turban, a plain yellow-brown jacket and a white collar sits by a window and looks back over her shoulder.
AI-generatedThe sitting. Costume, pose and light are settled before any paint goes on.

You are painting a tronie, a study of a face or a character type. The model is anonymous and wears exotic or “antique” costume, and the picture is made for the open market rather than for a client. Tronies showed off a painter's skill and sold at modest prices. Buyers didn't care who the model was.

We still don't know who she was, and the 2018 study didn't identify her. Your eldest daughter Maria, about 12 at the time, has been proposed. The maid in Tracy Chevalier's novel is invented.

Decide these before you touch the canvas

Costume
A blue and yellow turban. No Dutch girl wore one, so it reads as exotic. Your household liked “Turkish” things: your estate lists your own Turkish mantle and a pair of Turkish trousers. No turban is listed, though. You may have wrapped a length of cloth for the sitting, or borrowed the idea from other paintings such as Michael Sweerts's Boy Wearing a Turban (about 1655).
The pearl
Oversized and teardrop-shaped, too big to be believable as a real pearl. It was probably a varnished glass imitation, and the same kind appears in several of your paintings.
The moment
She turns her head over her shoulder, lips parted, eyes on the viewer, as if she has just noticed you. Aim for a passing instant rather than a formal pose.
The light
One source, high on the left. The whole picture becomes a study of what that one light does to different surfaces: dull cloth, skin, moist lips, wet eyes and a polished pearl.
Format and colour
A small canvas, about 44.5 × 39 cm. Behind her goes a dark green curtain, a cool, plain backdrop for her warm face. In front goes your favourite pairing, ultramarine blue against yellow.

Skip the paper sketches. Not a single drawing by Vermeer survives, and the evidence in this painting shows the design being worked out directly on the canvas.

Set up the studio

EvidenceYour 1676 estate inventory. The arrangement in the plan is inferred from the light in the painting.
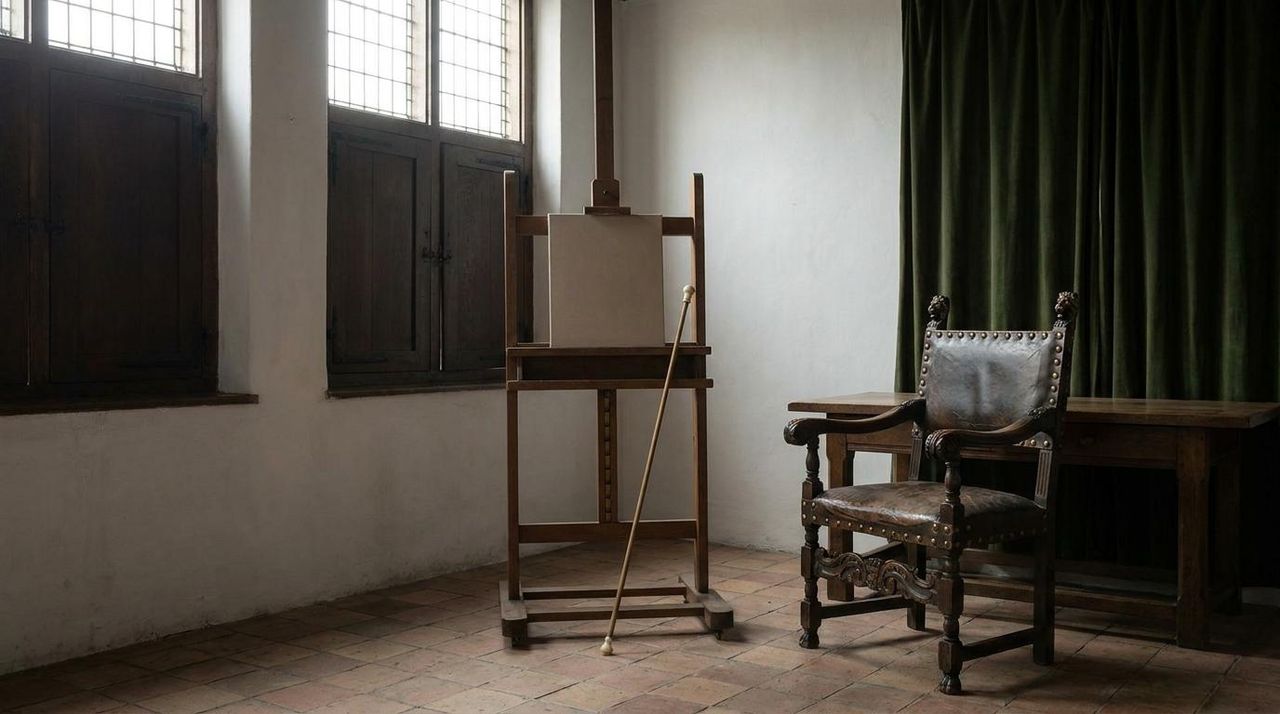
AI-generated reconstruction: An empty studio with tall leaded windows whose lower shutters are closed, an easel with a blank canvas, a maulstick, a Spanish chair and a green curtain.
AI-generatedYour studio, reconstructed from the 1676 inventory and the light in your paintings.

Your studio is an upstairs front room in your mother-in-law Maria Thins's house on the Oude Langendijk in Delft. After your death, the inventory of that room listed its equipment, including a cane with an ivory knob. That was probably your maulstick, the stick a painter uses to steady the hand for small strokes.

Seat the model near a tall leaded window on your left, so light falls from the upper left as it does in nearly all your paintings. Closing the lower shutters lets light in only from above and deepens the shadows. Angle the easel so the same light comes over your left shoulder; that way your painting hand doesn't shade the canvas.

What about a camera obscura?

You may well know the device. Optics was a lively subject in Delft. Antonie van Leeuwenhoek, the microscope maker, was born there the same month as you and later administered your bankrupt estate. But your inventory lists no lenses, and nothing in this painting needs one. The outlines were drawn freehand with a brush and then revised (chapter V), which fits working by eye.

Gather your materials

EvidencePigment analysis of this painting. How each material was made and prepared is general period practice.
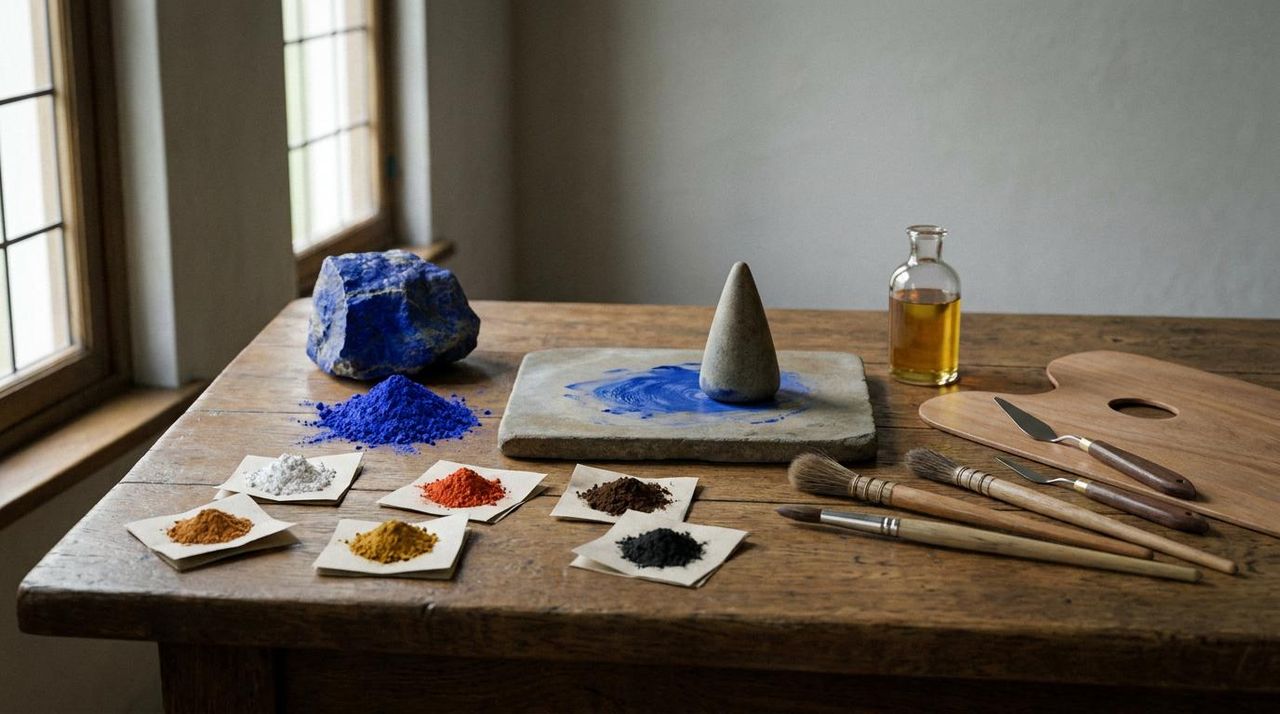
AI-generated reconstruction: A still life of lapis lazuli, ultramarine powder, small piles of pigment, a stone slab and muller, a bottle of linseed oil, a palette and brushes.
AI-generatedLapis lazuli and ultramarine, earth colours, lead white and vermilion, with the slab and muller you grind them on.

The canvas

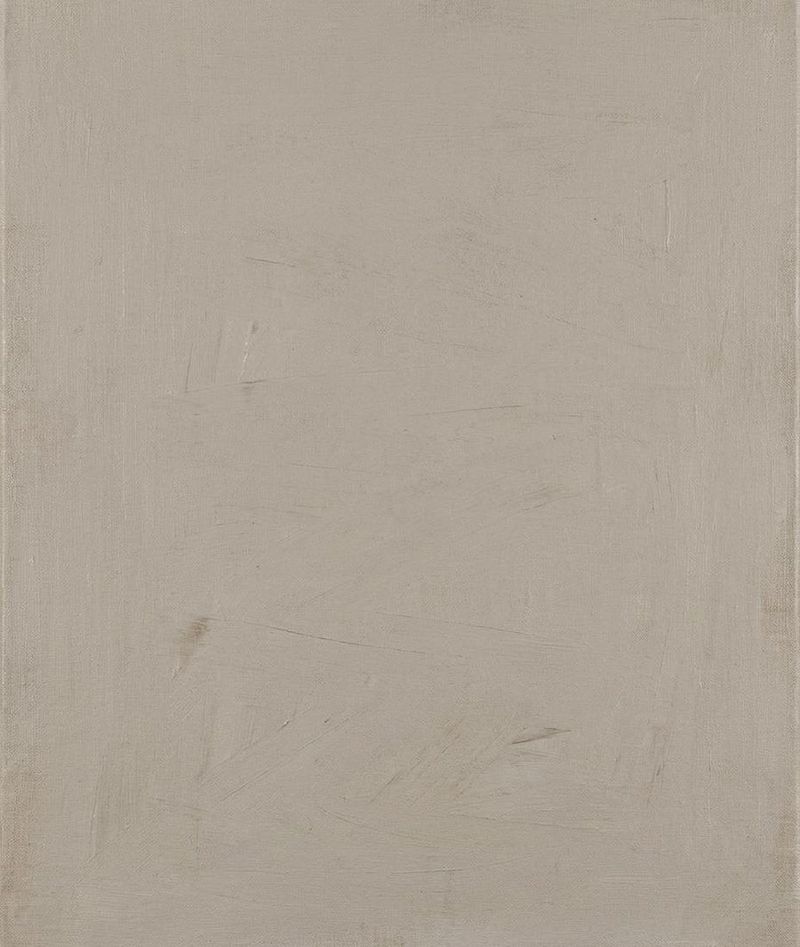
Buy it already primed. A professional primer probably prepared this canvas, not you. The primer stretches plain-weave linen on a frame and seals it with animal-skin glue so the oil won't rot the fibres. Then they spread on a ground of chalk and lead white with a knife, tinted with a little earth pigment, probably umber. The result is a warm, light grey.

The tinted ground gives you a middle tone from the start, so you work up toward the lights and down toward the darks.

The pigments

Analysis suggests you bought your materials in Delft, but Dutch trade brought them from all over the world. The swatches approximate each pigment's colour in oil.

Lead white

Strips of lead corroded by vinegar fumes in pots buried in fermenting dung, a method known as the Dutch stack process.

From
Lead mined in England's Peak District
Here
Ground, flesh, collar, highlights, pearl

Natural ultramarine

Lapis lazuli, crushed and kneaded into a dough of wax and resin, then washed with lye to release the blue. In your day it was worth more than gold.

From
Afghanistan
Here
The turban

Vermilion

Mercury sulfide, made synthetically. The Dutch were leading makers.

From
Dutch manufacture
Here
Flesh, lips

Cochineal lake

Red dye from insects that live on cacti, fixed onto alum to make a see-through red.

From
Mexico and South America
Here
Lips, flesh, the shadow of the nose

Ochres and umber

Natural earths: yellow, brown and red ochre, and umber.

From
Europe
Here
Jacket, yellow cloth, flesh shadows

Charcoal and bone black

Charred wood and charred bone.

From
Local
Here
Outlines, underlayers, background

Indigo

A blue dye from plants.

From
Asia or the Americas
Here
Background glaze

Weld

A yellow dye from the weld plant, fixed onto alum. Mixed with indigo, it makes green.

From
Europe
Here
Background glaze

Chalk

Soft white mineral that adds body to the ground and to glazes.

From
Local
Here
Ground, filler in glazes

Oil and grinding

Your paint is pigment ground into linseed oil, pressed from flax. Paint tubes won't exist until 1841, so each working day you grind only what you need. Put a small heap of pigment and a few drops of oil on a stone slab and work them with a muller, a flat-bottomed grinding stone, until smooth.

No pupils of yours are recorded, so this is probably your own job. Grind ultramarine lightly, because over-grinding turns it pale. Lead white is poisonous, so handle it with care.

Lay in the design in paint

EvidenceInfrared and X-ray fluorescence scans of this painting, 2018. They show three preparatory stages: the ground, fine black outlines and underlayers.
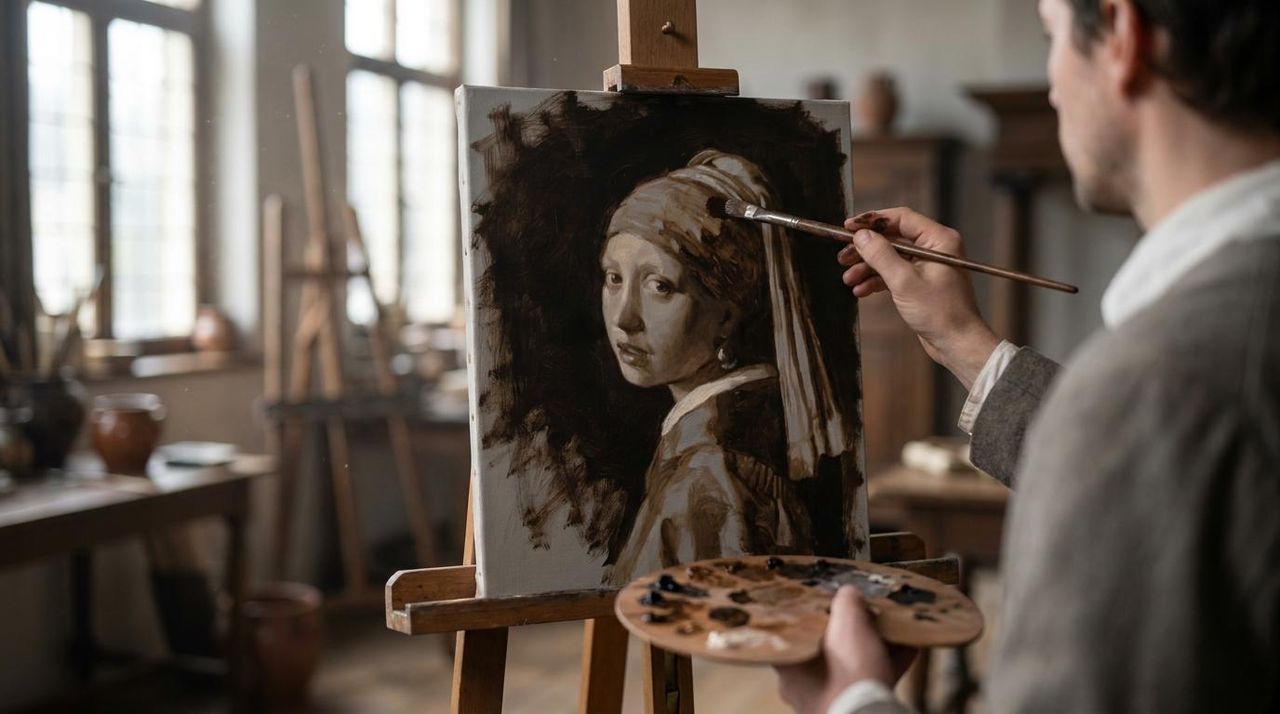
AI-generated reconstruction: The brown dead-colouring of the painting on an easel, with the painter's hand holding a brush and a palette of browns.
AI-generatedThe dead-colouring on the easel. The canvas is stage 3 from the slider at the top of the page.
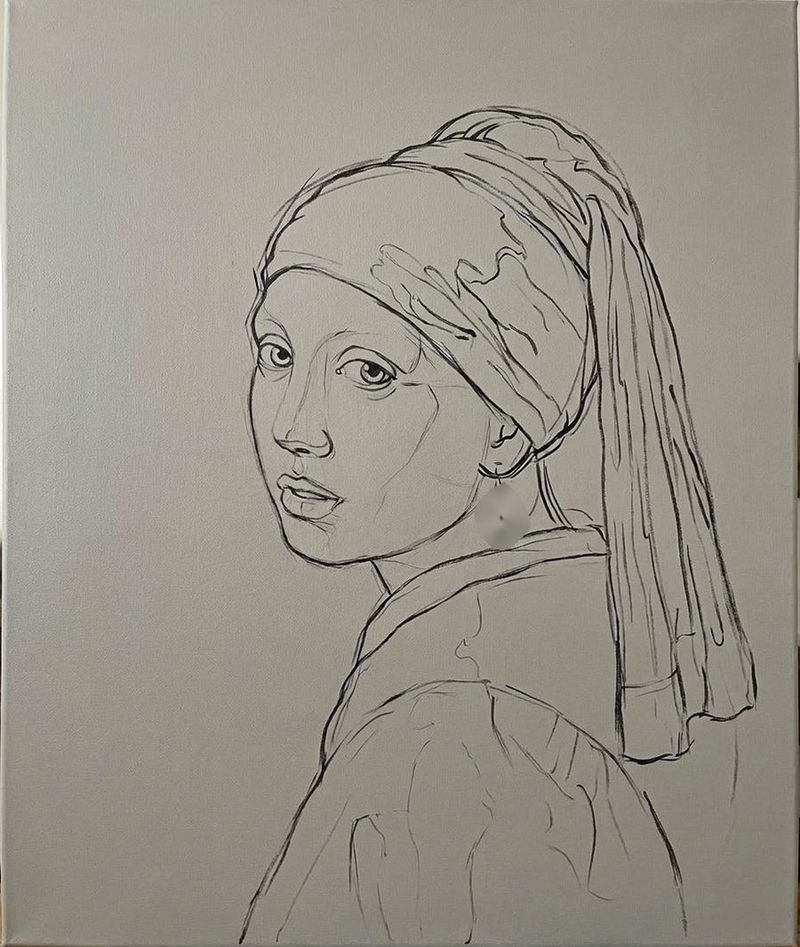
AI reconstruction: The bare canvas, an even warm light grey ground.
GroundWarm light grey, bought ready-primed. AI-generated
AI reconstruction: Thin black contour lines of the head, turban and shoulder on the grey ground.
OutlinesThin black lines for the contours. AI-generated
AI reconstruction: The composition blocked in with browns and blacks, the background brushed in roughly.
Dead-colouringLight and shade in browns and blacks. AI-generated
AI reconstruction: The monochrome lay-in with cream lights on the face, red lake beside the nose and an off-white collar.
UnderlayersCream under the lights, red lake by the nose, dark under the shadows. AI-generated
Generated with Prodia from the finished painting, so the composition stays in register. They show plausible stages, not scans of the real underlayers.
  1. Outline

    With a fine brush and thin black paint, draw the head, turban and shoulder straight onto the grey ground. Keep the lines light.

  2. Monochrome lay-in

    Block in light and shade in browns and blacks. Dutch painters called this first stage dead-colouring (doodverf). You are setting down masses, not detail.

  3. Plan the underlayers

    This is the subtle part of your method. You choose each underlayer for what will go on top of it, so they vary in colour and thickness. Dark underlayers go under the jacket and the shadowed side of the turban, where they will later supply the shadows. Thick cream-coloured paint goes under the brightest parts of the face. Red lake goes in the shadow of the nose, so it glows warm through the skin paint.

  4. Revise

    You will move things. In this painting the ear, the top of the turban and the back of the neck were all shifted. Correct the lay-in now, while it is still cheap earth colours.

Paint it up, back to front

EvidencePaint samples, scans and microscopy of this painting, from the 1994 restoration and the 2018 study. The cross-sections show only layers named in published analyses, and they are not to scale.
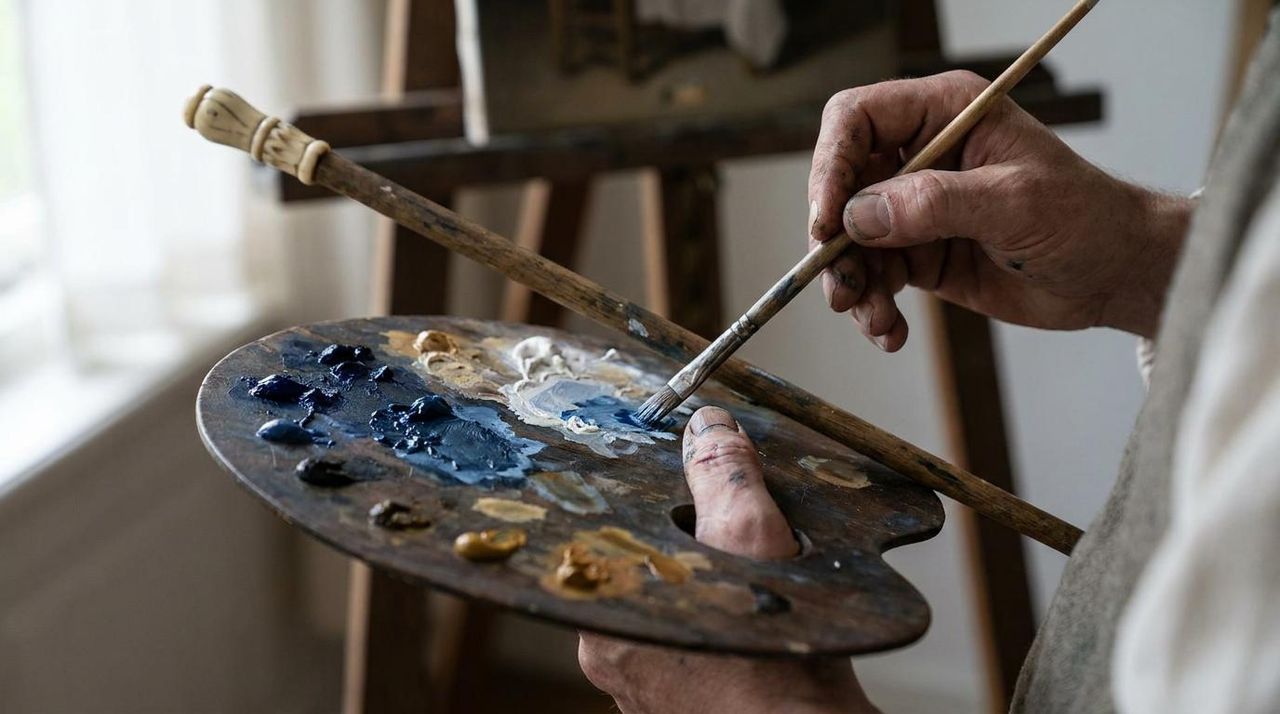
AI-generated reconstruction: Seen from behind, the painter steadies his hand on a maulstick and lays the first ultramarine on the turban.
AI-generatedFirst ultramarine on the turban, with the painting hand steadied on the maulstick.

The Mauritshuis found that you worked in a fixed order from back to front: background, face, jacket, collar, turban, and the pearl last. Let each stage dry before you glaze over it. A glaze is a thin, see-through layer of paint, and it needs a dry layer underneath; paint with plenty of lead white is dry to the touch in a few days.

1 2 3 4 5 6

AI-generatedAfter step 6: the pearl, as painted about 1665
  1. 1Background
  2. 2Face
  3. 3Jacket
  4. 4Collar
  5. 5Turban
  6. 6Pearl

Background: the green curtain

AI reconstruction after step 1: a deep green curtain behind a figure still in brown underpainting.
After step 1 AI-generated
Close-up of the background today: nearly black and covered in fine cracks.
The background today. Its green has faded to near black.

Cover the background with a thin layer of charcoal black and let it dry. Over it, brush a deep, see-through green glaze of indigo and weld, with some chalk and a touch of red ochre, working around the figure.

Model the folds of a curtain; traces of them survive at the upper right. The cool, dark green pushes the warm skin forward.
Background · surface at top
Green glazeindigo and weld, with chalk and a little red ochre
Black layercharcoal black, with some bone black
Ground
Canvas

The face

AI reconstruction after step 2: the face finished; turban, jacket and collar still in underpainting, and no pearl yet.
After step 2 AI-generated
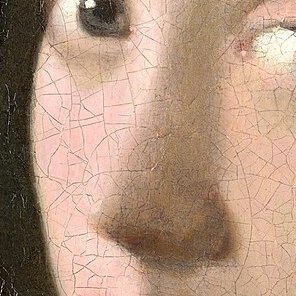
Close-up of the nose. On the lit side there is no outline, and the nose melts into the cheek.
No outline on the lit side of the nose.
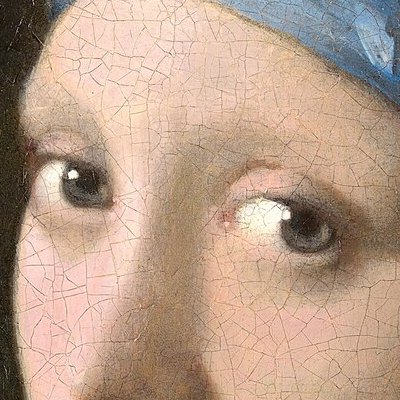
Close-up of both eyes, each with a small bright catchlight.
Catchlights of pure lead white.
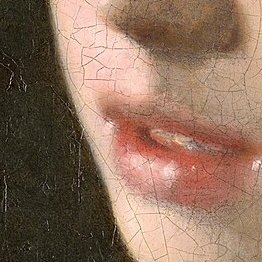
Close-up of the parted red lips with small bright highlights.
Moist highlights on the lips.

Paint the skin thinly over the underlayers. Mix the lights from lead white tinted with vermilion and a little red lake. Add umber for the cool grey in-between tones and blend them softly. Use umber, perhaps with some black, for the deepest shadows.

Keep the edges soft. Where the light is strongest, let outlines dissolve: the lit side of the nose has no outline at all and melts into the cheek. Save sharp edges for a few accents.
Eyes
Lead white for the whites, then a tiny dot of pure lead white in each for the reflected light. Add eyelashes with a few strokes of brown. They are so fine that no one noticed them until 2018.
Lips
Vermilion and cochineal red, then a few tiny, bright touches to make them look moist.
Lit cheek · surface at top
Flesh paintlead white with vermilion and a little red lake
Cream underpaintthick, under the brightest areas; red lake in the nose shadow instead
Ground
Canvas

The jacket

AI reconstruction after step 3: the yellow-brown jacket painted.
After step 3 AI-generated
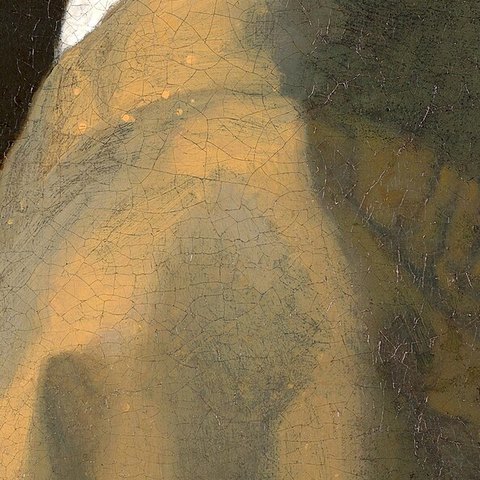
Close-up of the yellow-brown jacket at the shoulder, with greenish-dark shadows.
The dark underlayer shows through in the shadows.

Paint the yellow-brown jacket thinly over its dark underlayer of ochres and charcoal black. Use lead white, yellow ochre, a little brown ochre, and even a pinch of ultramarine to cool it.

Where the jacket turns away from the light, let the dark underlayer show through. Keep it broad and leave out the seams.
Jacket · surface at top
Thin overpaintlead white, yellow ochre, a little brown ochre and ultramarine
Dark underlayeryellow, brown and red ochre with charcoal black
Ground
Canvas

The collar

AI reconstruction after step 4: the white collar painted.
After step 4 AI-generated
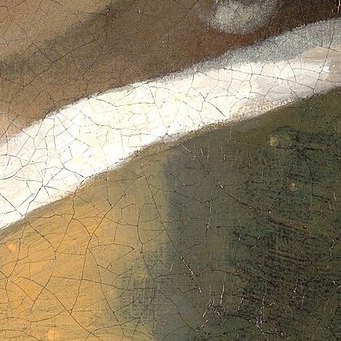
Close-up of the white collar, painted in a few thick strokes.
A few thick strokes of lead white.

A few thick, confident strokes of lead white. It matters later, because the pearl reflects it.
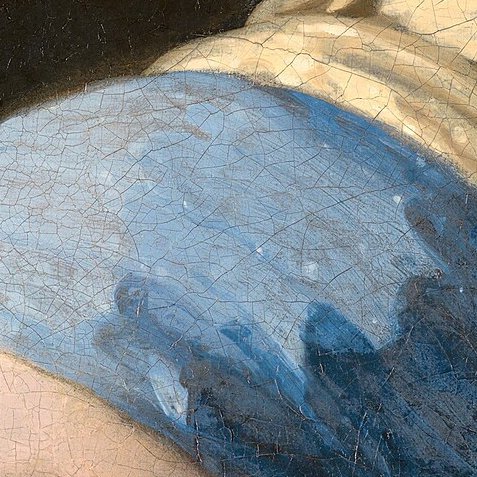
The turban

AI reconstruction after step 5: the blue and yellow turban painted, still without the pearl.
After step 5 AI-generated
Close-up of the blue band of the turban: light blue on the lit side, deep blue strokes in the shadow.
Lit side and glazed shadow side.
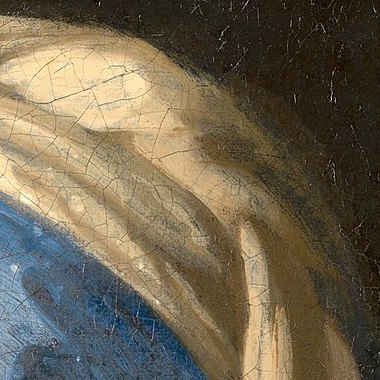
Close-up of the yellow cloth's folds, caught with broad strokes and small dots of light.
Ochre folds with dots of light.

This is the expensive part, and you use plenty of top-quality ultramarine. On the lit left side, paint a light blue of ultramarine and lead white, thicker in the highlights. On the shadow side, glaze ultramarine over the dark underlayer to get a deep, intense blue that no amount of mixing could produce. The darkest accents along the edge are bone black and chalk with a little ultramarine and red lake.

Then paint the yellow cloth in ochre and lead white over darker layers. Catch the folds with a few broad strokes and small dots of light, the pointillés you use for light glinting on fabric.
Lit side · surface at top
Highlightsthicker lead white and ultramarine
Light blueultramarine and lead white
Ground
Canvas
Shadow side · surface at top
Ultramarine glaze
Dark underlayer
Ground
Canvas

The pearl, last

AI reconstruction after step 6: the pearl added, with the green curtain behind her.
After step 6 AI-generated
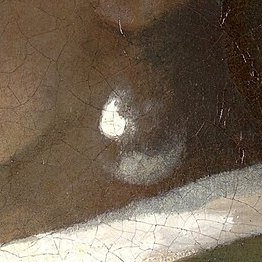
Close-up of the pearl: a bright white highlight at its upper left, a soft reflection along its bottom, and the white collar below.
No outline, no hook.

It takes three strokes, laid over the dried brown shadow of the neck. Don't paint an outline, a hook or an ear wire. The pearl is nothing but reflected light, and the viewer's eye supplies the rest.

The pearl in three strokes Three panels over a brown shadow. First, a faint see-through off-white drop. Second, the same drop with a thick white highlight at its upper left. Third, the same again with a soft, thin curve of light along its bottom edge. Scumble + Window + Collar
  1. A thin, see-through layer of off-white for the body of the pearl. Most of what you see is the shadowed neck showing through it.
  2. A thick dab of lead white at the upper left, reflecting the window.
  3. A soft, thin stroke along the bottom, reflecting the white collar.

Finish, varnish, sell

EvidenceThe signature on the painting and a 1696 auction listing. Drying and varnishing are period practice; the pace is estimated from your known output.
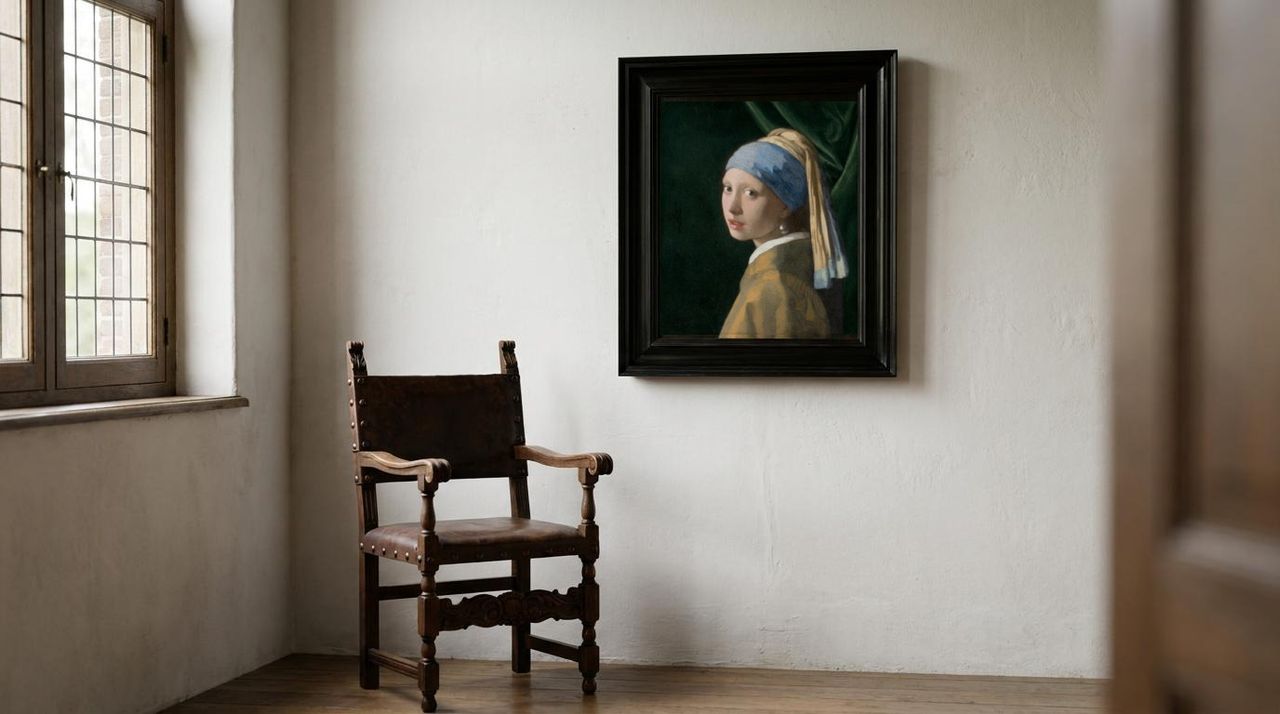
AI-generated reconstruction: The finished painting in a plain black frame on a whitewashed wall beside a leaded window, with a Spanish chair below.
AI-generatedFinished, varnished and framed in black, the way paintings hang in your own interiors.
Sign it
IVMeer, with the first letters joined in a monogram.
Wait
With drying time between layers, a small picture like this takes weeks to months, and you finish only two or three paintings a year. Let the paint harden for months before varnishing, because varnish over fresh oil paint can crack.
Varnish
Brush on a varnish of natural resin, such as mastic dissolved in turpentine, to deepen the darks and protect the surface.
Sell
Tronies went to the open market, but your patron Pieter van Ruijven may have bought this one. In 1696 the collection of his son-in-law, Jacob Dissius, was auctioned in Amsterdam.

What time has changed

EvidenceThe 2018 study and the 1994 restoration.

If you work from the painting as it looks today, don't copy the decay.

  • The background was a deep green curtain. The weld has faded and the indigo has broken down, so it now looks like flat, nearly black emptiness. Paint the green.
  • The eyelashes and the folds of the curtain are now almost invisible.
  • A spot of light just below the pearl turned out to be a stray flake of paint. It was removed in the 1994 restoration.

How Vermeer thought

  • Plan from the bottom up. Choose each underlayer for the effect you want from the layer on top.
  • Let one light control everything. Paint what it does to each surface rather than what the object is.
  • Soften the brightest edges. Save sharp touches for the highlights.
  • Suggest rather than describe. The pearl is three strokes.
  • Spend where it shows. Ultramarine for the turban, cheap earth colours for everything else.

Sources